So you're working on some great paper-craft idea you've got going on in your brain, and you're all ready to do the lettering when you stop. Wait a minute. There is nooooo way you are going to try to free-hand that baby, because ummm... yeah. So, stenciling it is! But wait... you don't have any lettering stencils. Phooey (or more... adult version of phooey). Sometimes a trip to your home away from home is not going to happen for one reason or another. Like, say, you've run out of money from your three other trips there just this
year month week. Never fear, you CAN create some cheap, simple stencils from scratch that will do in a pinch to get your job done. We all know what happens when you set aside a project 'to be finished later'.
What you need is:
Some card stock- even just scraps of it
Small pair of scissors (think nail or embroidery)
or pins
Lettering/Words printed out from the computer in the size and font of choice
Tape
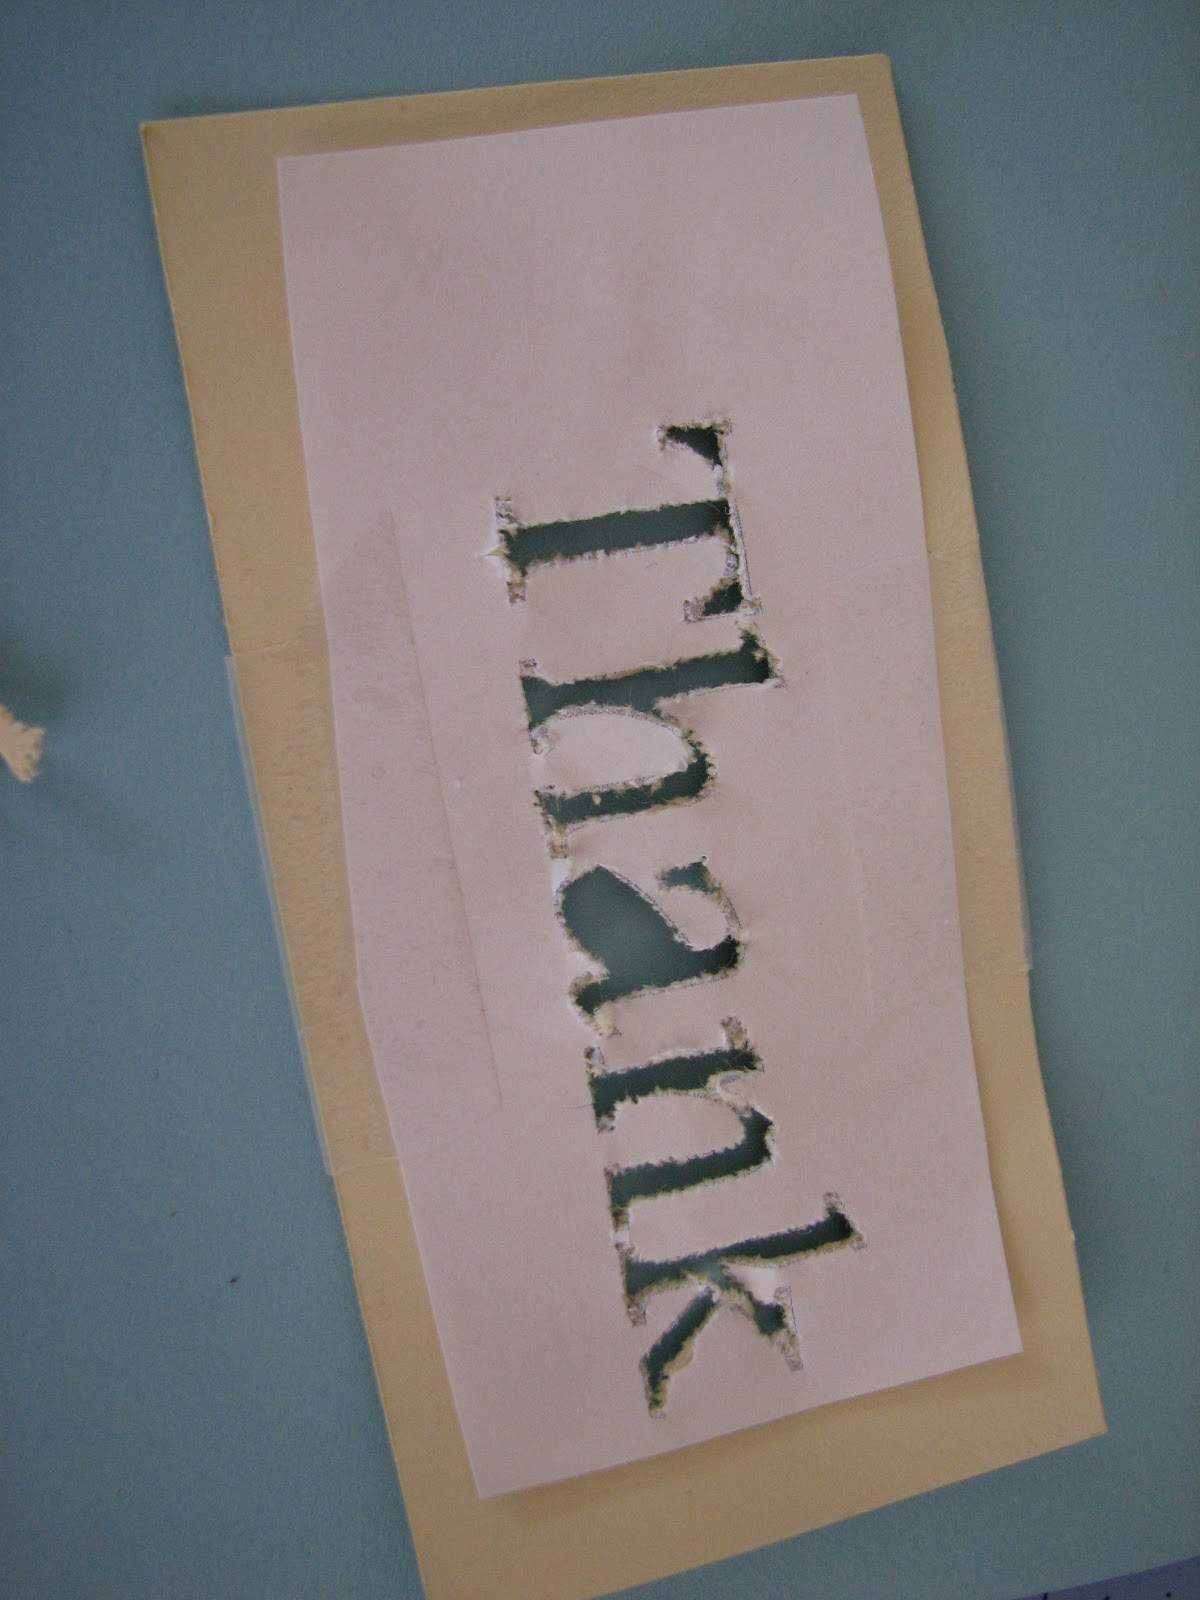
First, cut out the letters/words from the computer paper, leaving a large margin around the edges.
 |
| How it should appear after being cut out from the computer paper |
|
Then, tape the computer cut out to the piece(s) of card stock, making sure that the tape is
not touching the lettering/words directly.
 |
| Like so |
Then take your pin, and punch through around the outline of each letter.
Continue around until all the letters have been punched through. At this point, you can either gently press out the letters by hand, or (for a smoother outline) you can cut the lettering through the punched holes using your super tiny scissors.
At that point simply remove the paper and tape, trace onto your project using the newly had stencil, and voila!
Darken or color as needed. :)


No comments:
Post a Comment